2" Coil spacer lift
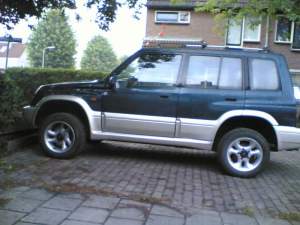
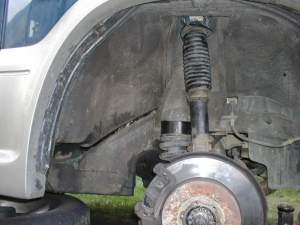
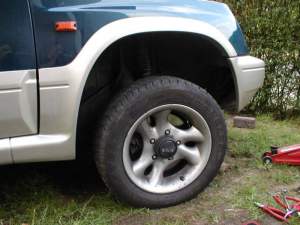
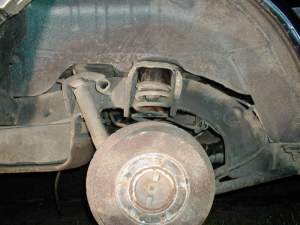
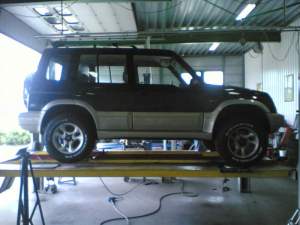
Before pictures
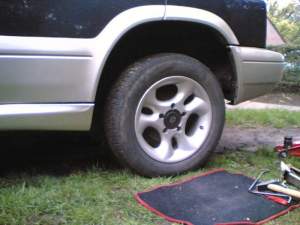
Prepare work
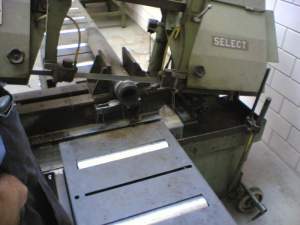
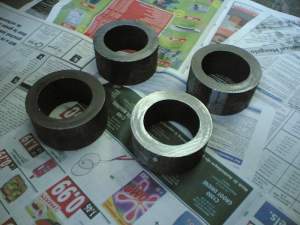
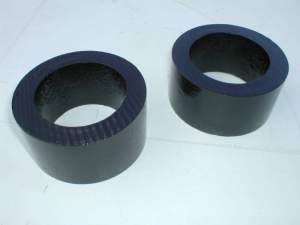
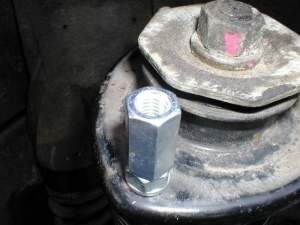
Cut coil spring spacers from pipe
Front will be lifted first
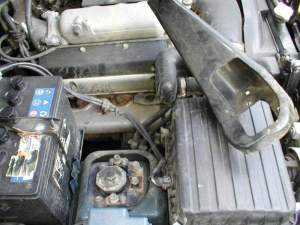
Remove shock tower brace (Only on V6 model)
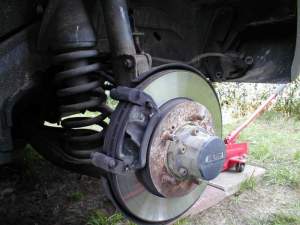
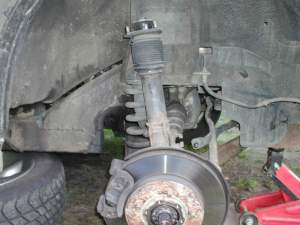
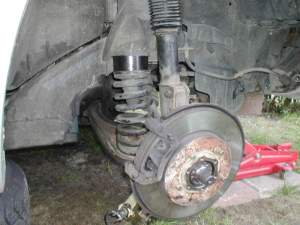
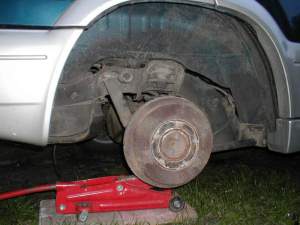
Place jack under chassis, jack up the car and remove the wheel
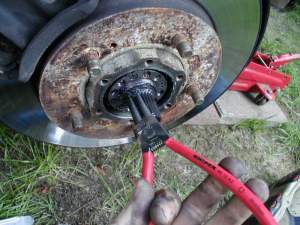
Remove to auto locking hub, and the C-Clip from the axle shaft
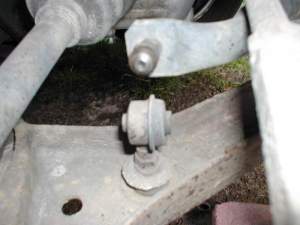
Disconect anti-rollbar or remove it. (mine was worn out, so i removed it to get more wheel travel)
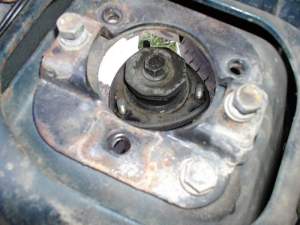
Undo the 3 bolts from the shock bracket
Compress the shock and remove the brake caliper
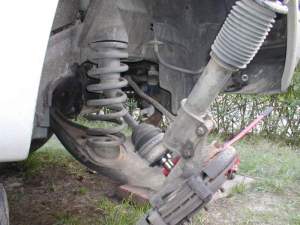
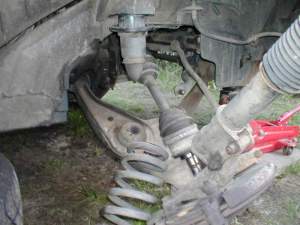
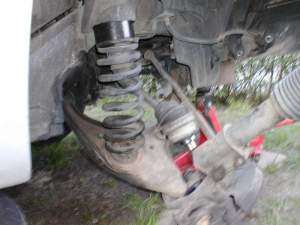
Bend down the shock and suspension arm to release the tention on the spring
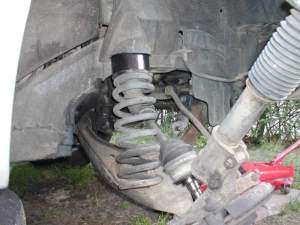
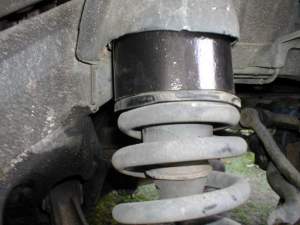
Spring sits on the original rubber ring but now with the spacer between in
Put spring back on suspension arm (force is requiered)
Jack up the suspension arm to reposition the shock
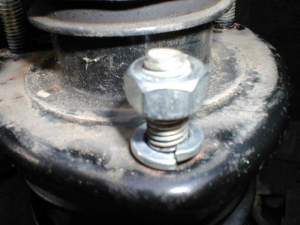
Insert bolt in shock bracket, use lock-washer and nut
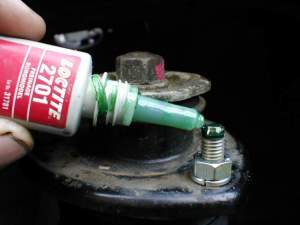
Add Loc-tite to the thread
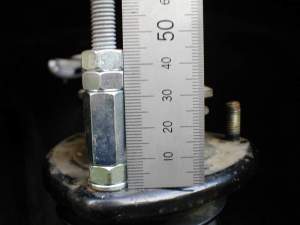
Screw in a 50mm thread in the high nut, use loc-tite and install 2 nuts on the thread, you now have a 45mm spacer (5mm less then the lift, to prevent over expanding of the joints in the axle shafts)
Shock bracket with shock back in position
Install C-clip on axle shaft, locking hub and caliper
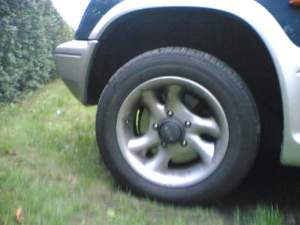
Wheel back on, look at the space in the wheel arch
Now the front is done, we are going to do the rear
Place jack under chassis, jack up the car and remove the wheel
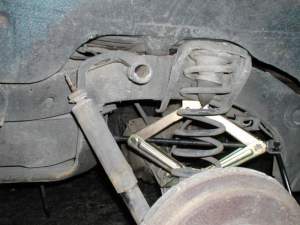
Place scissors jack between chassis and axle and remove the top nut of the shock
Jack up the scissors jack until you can remove the spring
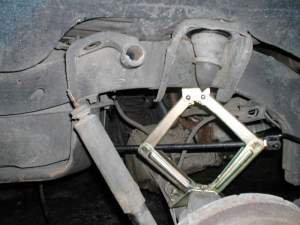
Jack it up a little more, and place the spacer between the spring and the chassis,mind the rubber it should be between the spring and the spacer
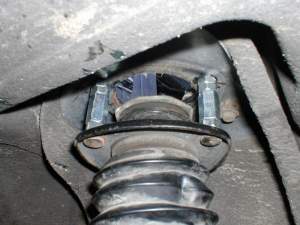
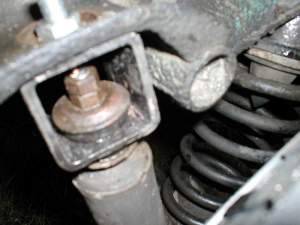
Install a piece of box-section 50x50x50mm between the shock and the chassis
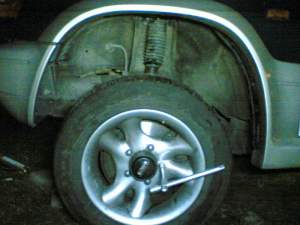
After pictures (with the old tyre's)
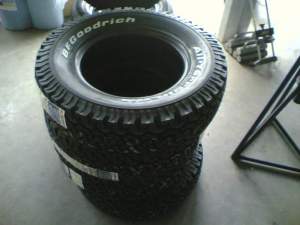
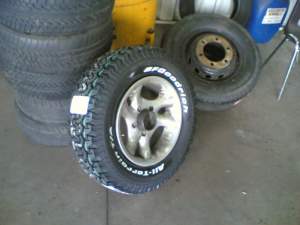
New tyre's
New Tyre's waiting to be installed
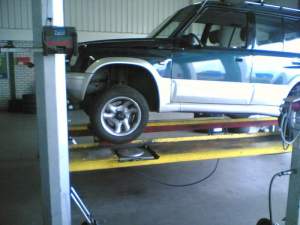
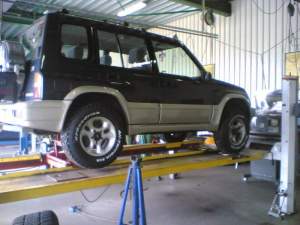
Car on the bridge, front jacked up.
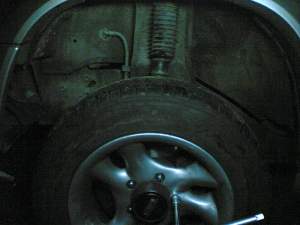
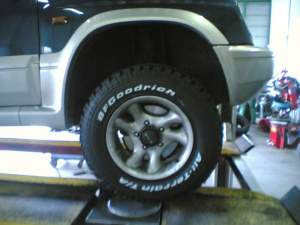
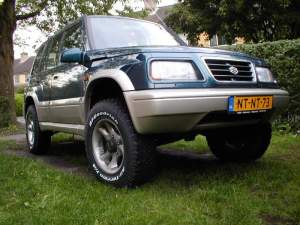
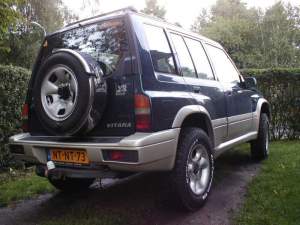
After pictures (with the new tyre's
After doing this modifications it was obvious that some "camber correction" was needed, installtion of the "camber correction" kit can also be found in the "Tech" section of this website
